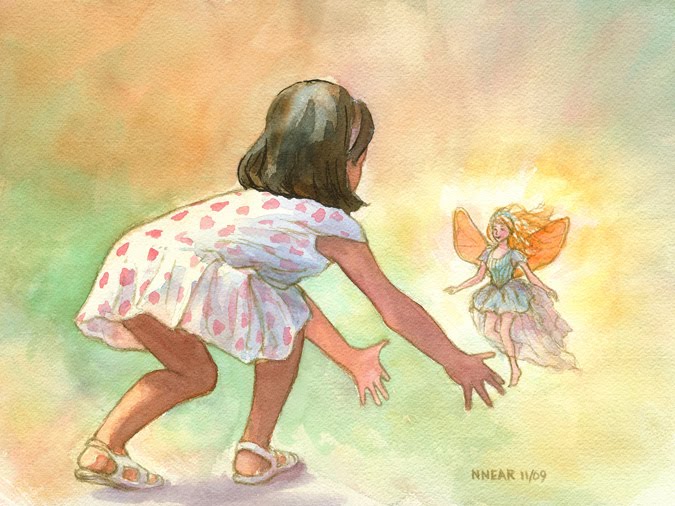
Because we only have a couple hours to paint in class most paintings are unfinished when I photograph them. Nancy completed hers after class and sent me this image. The lines and darker values really complete the work.
 The idea for this project came from Nancy who is working on a book for her granddaughter. This is the title page she worked out in the class.
 Lynn took her studies, lined them up and added Peter Rabbit.
 Adelheid began with a family photo and turned it into a charming illustration.
 Cheryl began with a photo of a similar set up but simplified it into a charming composition.

 Marilyn painted her fruit more realistically with her rectangle lost and found in the background.
 Sue let the geometric shapes run through her fruit so that they are only subtly showing in the background.
 Emily's persimmons are very lifelike even though the values have been altered so that they interact with the background shapes.
 We do a short critique at the end of each three hour class. The paintings from this exercise looked particularly striking together on the blackboard.
 Barbara used dry brush stokes to create a fur texture and negative painted an irregular edge on the right, sunlit side of the dog to say 'fur'.
  Dan began working very wet letting the paint form blurry edges. Later he sharpened up the left edge and added line work on the right in the tail.
 Nancy worked with flat patches of color letting the jagged edges say 'fur'.
 Rochelle used the red to paint a sharp furry edge around her cat and used gray to create some jagged edges in the neck fur.
 Here is Liz's color chart and a small landscape.
 Norma's mountains and yellow sky worked particularly well.
 Elaine also ended up with a yellow sky and various greens and oranges in her landscape.
 Carrie was able to make sense out of a complicated beach scene .
 Wendy turned her textured band into coastal rocks.


 Emily had to work around the light veins in this leaf plus depict the dark mottled pattern.
 Carla worked on an arrangement of three differently colored leaves.
 Susan found wonderful variation on dark browns in what at first glance looked like a rather drab leaf.
 Elaine also worked with dried brown leaves, but in her case she focused on giving the leaves form and making them look three dimensional.


 And here she has created a more somber mood -
 And in her second piece she emphasized curvy shapes and used a monochromatic palette.
 Even without linking dark shapes and background foliage, Leslie's painting has a real sense of depth.
 Lynn's under-painting suggests shapes and gives this piece a mysterious quality.
 Nancy used a wide range of colors in her under-painting and was able to maintain the bright hues as she added glazes.
 Rita worked with yellows and greens in the initial stages and later added the oranges and browns for contrast.


 Claire left lots of white but we are still able to make sense of the pose.
 Nancy added bits of red in the wet wash on the sheep.
 Jeff left unpainted areas on the face and back and worked with two colors in his wash.
 Carrie used different weight pen lines and bold green color for her goat.
 Mary Ann had a similar problem and she found dark tree shapes on the left to create balance.
 In Jessalyn's painting and field rows lead the eye left, then right to the upper trees which take the viewer across to the large foreground tree.
  Jean's foreground rows act as a stripped pattern which is repeated in the cypress trees


